


Microsoft has had a long line of successful software products, and some of them, like the newest Paint, look pretty cool too.

Although MS Office does not make it to the list of most attractive Microsoft products, as far as utility is concerned, it’s right up there. With a great suite of programs, Microsoft Office has made it to workplaces worldwide and most of the workforce relies on some or the other MS Office product to complete their tasks.
The most popular applications in the Office Suite are Word, Excel and PowerPoint. Here, we present to you some tips, tricks, and hacks you can use with these softwares that will help you maximise your efficiency.
MS Word
Whether you need to write a book or complete an assignment, MS Word is a writer’s best friend. Interestingly, there is a lot more you can do in Word than you think. Here are some ways you can use it to your benefit.
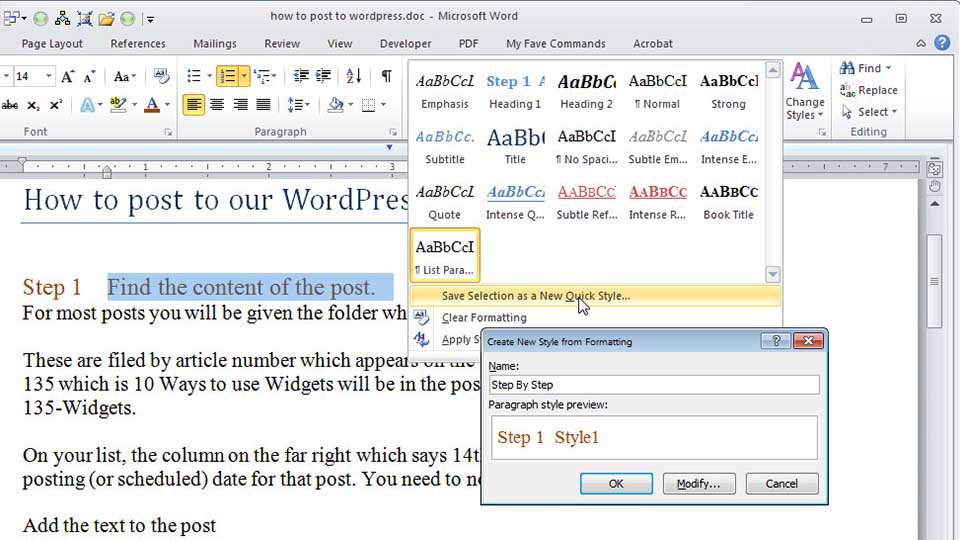
1. Start using document styles
If you need to create a lot of documents similar in nature, you should use styles. Once you create a style template, you can use it again for another similar document. If you write a lot of letters, you can create a letter style, and it will save you a lot of time.
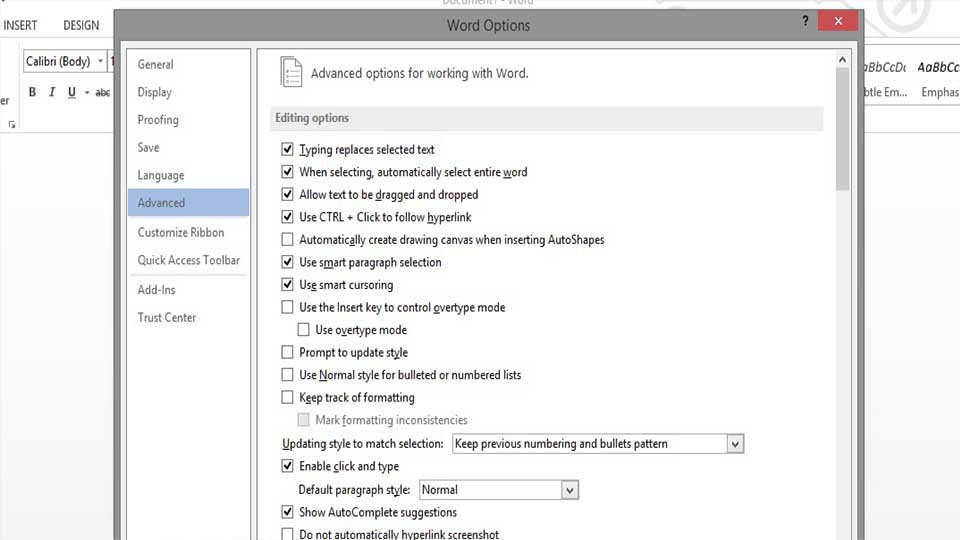
2. Modify your paste command
Have you ever tried pasting some text and discovered that it lost all formatting that it was supposed to carry? Well, you can actually configure how the paste option works on MS Word. Just go to Office button, navigate to Word Options, and go to advanced. There, you’ll see a Cut, Copy, Paste option where you can make the changes.
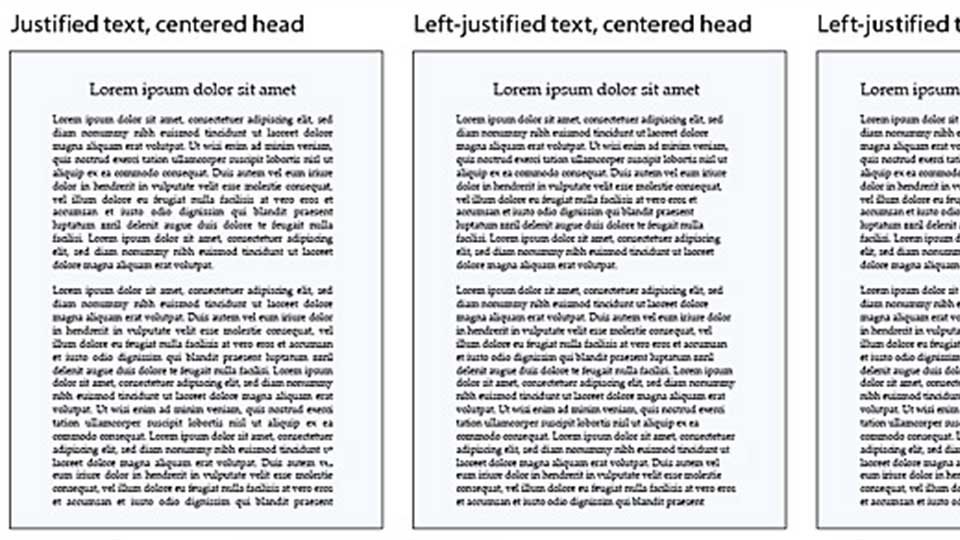
3. Use justified formatting always
Justification formatting looks professional because it is neat. Although you can change any block of text to justify as and when needed, you can set your default alignment to ‘justified’ by clicking on the Office button, then going to Word Options and then clicking on the Layout option under Advanced.
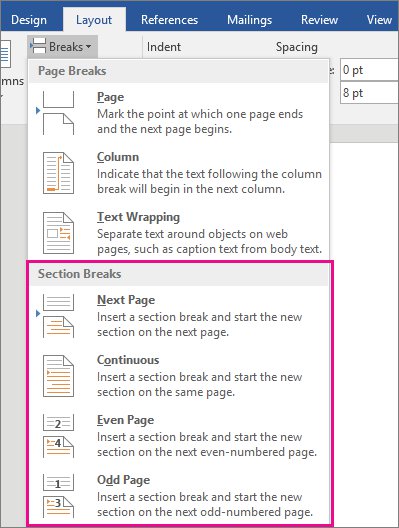
4. Use sections to get more control over your document
MS Office doesn’t see the pages the way we see them. They see them divided in sections. And if you divide your work in sections as well, you can treat each section independently and have far more control over your document than you normally do.
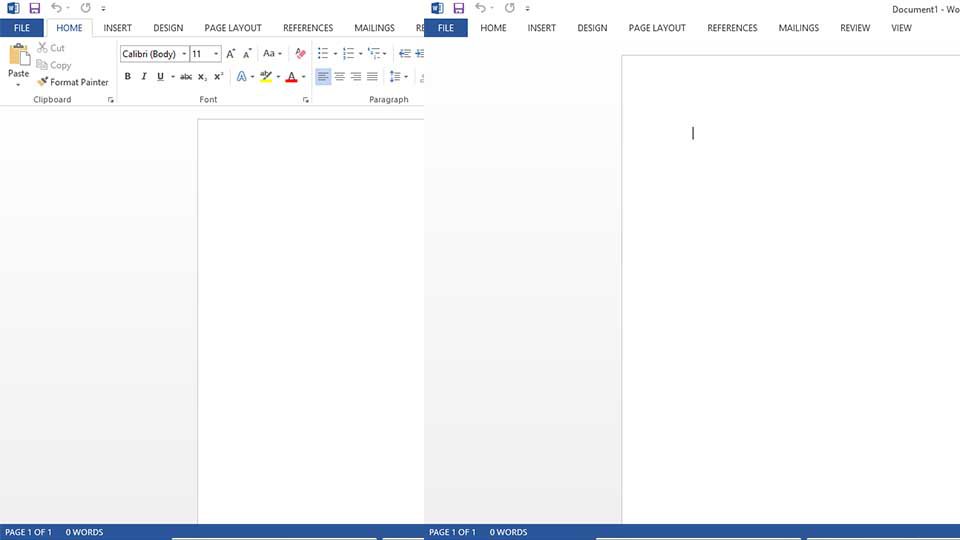
5. Hide the ribbon to remove distractions
When you are in the mood for some serious writing, anything apart from a white text space can be distracting. If you want to hide the ribbon at the top, just click Ctrl+F1. You can make it re-appear by clicking on it again.
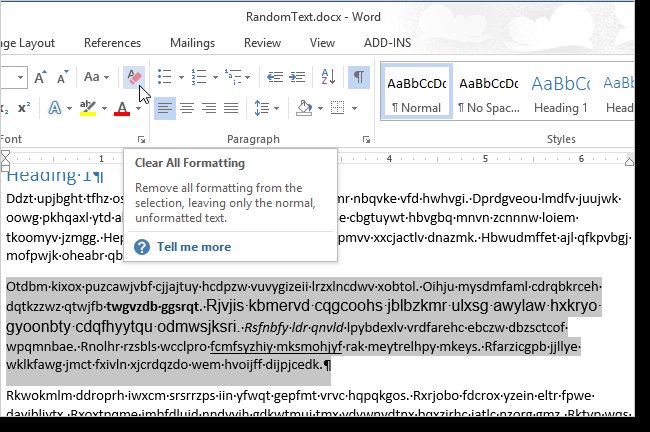
6. Get rid of all the formatting
We’ve all faced a situation when a little change in formatting spoils the whole document. Next time that happens, use the Clear Format button after selecting the text you need, to remove the formatting. That piece of text will be back to plain text.
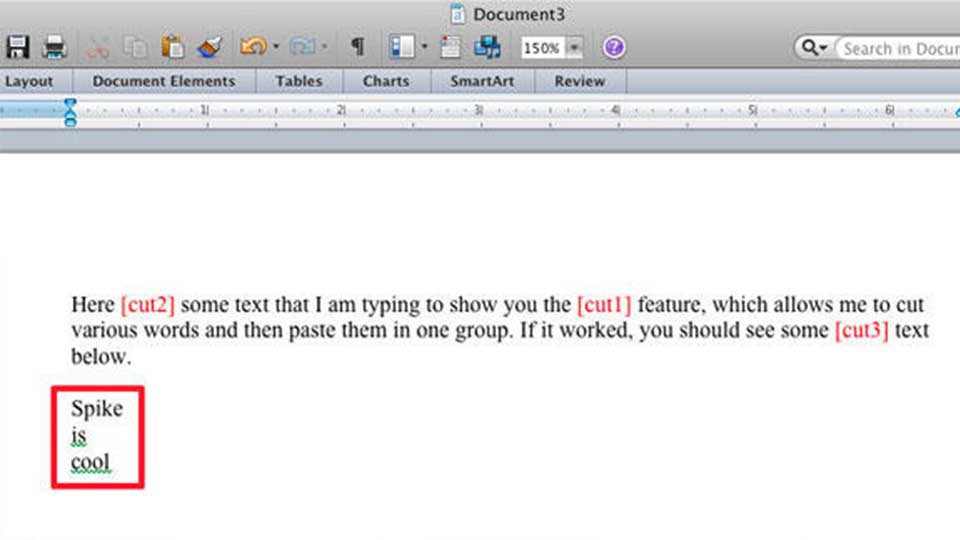
7. Use Spike to copy/paste
Now here’s something that you might not be using a lot. Using Spike, you can cut various words from a document and paste them together. Instead of the usual cut/copy command, use Ctrl+F3 to copy, and use it on as many words/phrases you want. And when you paste them at the end, it’ll paste everything that you copied.
MS-Excel
For people obsessed with data, MS Excel is the greatest weapon available. Here are some tips that will help you crunch those numbers and become a spreadsheet ninja.
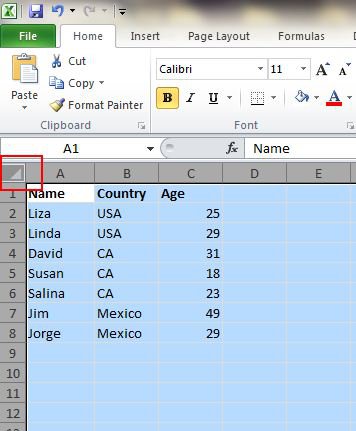
8. Select all your data with a single click
Did you know that if you clicked on the corner button on the top left, all your data is selected automatically? This is even faster than Ctrl+A.
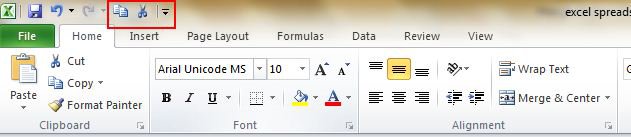
9. Customise your shortcut menu
The three shortcuts in the top menu usually are Save, Undo Typing, and Repeat Typing. However, you can add more of your frequently used shortcuts to this list. Go to File -> Options -> Quick Access Toolbar, and add the shortcuts you need.
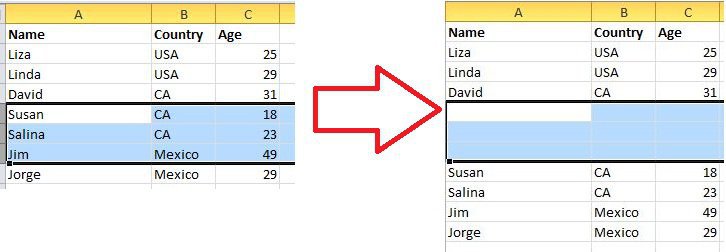
10. Add multiple rows/columns
You may know how to add a new column or row to a spreadsheet. But if you use the same way to add multiple rows or columns, that’d be tedious. A better way to do it would be to drag and select n rows/columns in the spreadsheet, just above or to the left of where you want to add them. After dropping, right click the highlighted rows/columns and choose Insert.
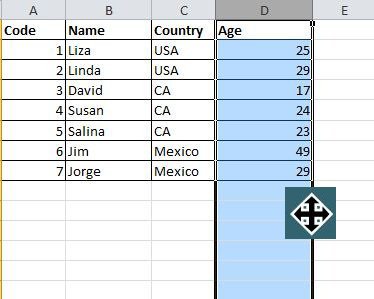
11. Move and copy entire columns quicker
When you want to move an entire column of data to a new location, just select the column and take the cursor to its border. As soon as the pointer turns to a crossed arrow icon, you can drag the column to its new location. If you need to copy it, just do the whole process with the Ctrl button pressed.
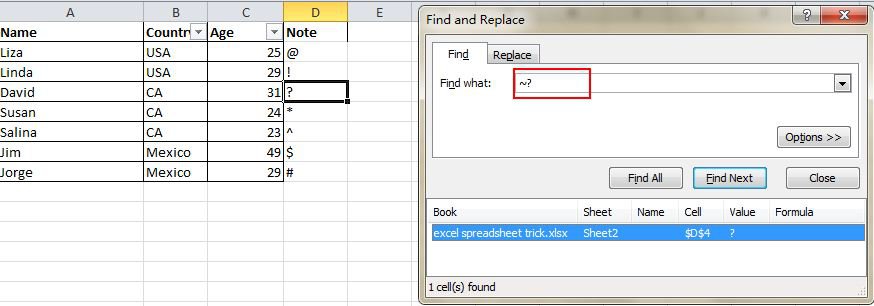
12. Use wild cards to make searching better
When you need to find something but are not sure what, you can use the wild cards. Using a question mark means looking for one character, and using an asterisk means looking for multiple characters. Add them before or after or in between your search query.
13. Use Ctrl+Arrow Keys to navigate faster
An easier way to navigate through an excel spreadsheet is by using the Ctrl button. Use Ctrl and any arrow button to jump to the end of the line in any direction.

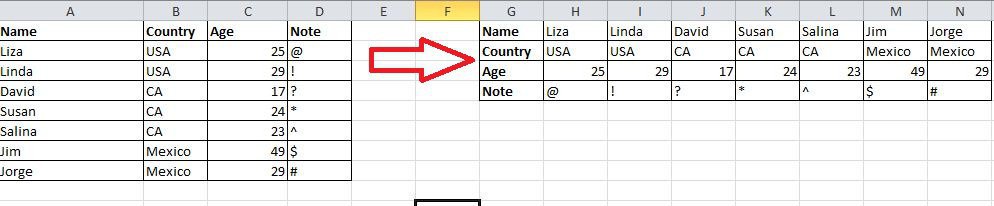
14. Transpose cells
Transposing data can sometimes help you get a better view. Thankfully, Excel has a transpose function. Just copy the area you want to transpose, move the pointer to some blank location, then go to Home -> Paste -> Transpose.
MS Powerpoint
If you need to make a presentation, there is no better tool to help you do that, than Microsoft Powerpoint. It has various features that help you make beautiful slides that you can create and present in a meeting, to a friend, or just if you need to give a lecture.
15. Size your slides according to your needs
Not many people know that Powerpoint actually allows you to change the size of your slide. To create your own slide size, go to File -> Page Setup and enter the height and width you want and voila, you’ll have a custom size for all your slides.
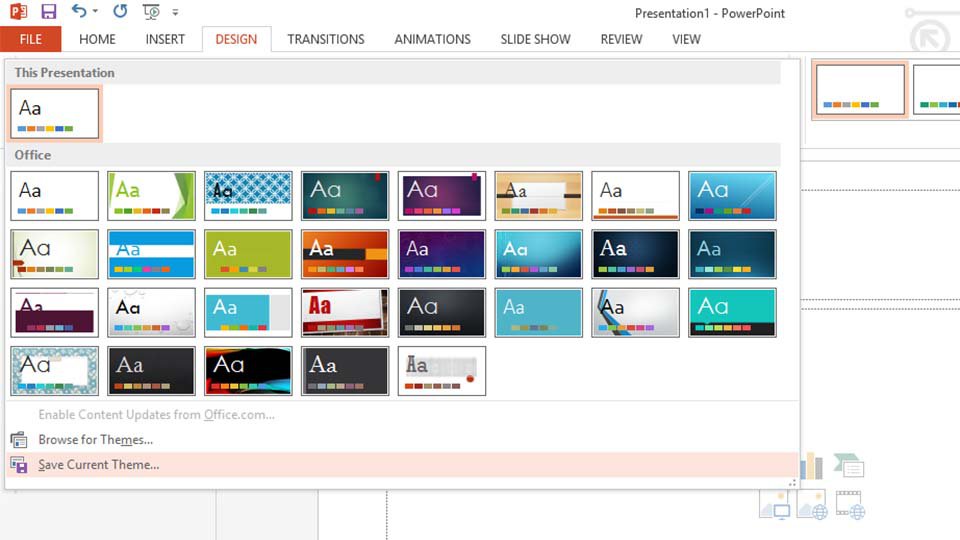
16. Create your own template
Just like the size, you can also create custom templates. When you go to the Themes tab, click on Edit Master and then Slide Master. You’ll be able to make a lot of changes to the existing themes and all your slides will have the new template you just created.
17. Align your images with a single click
To make sue all the images end up aligned, there are better ways than to adjust them using only the mouse and your eyes for scale. Just select one of the images, then select others while holding Shift. Then go to the Align button on the top, and select the kind of alignment you need.
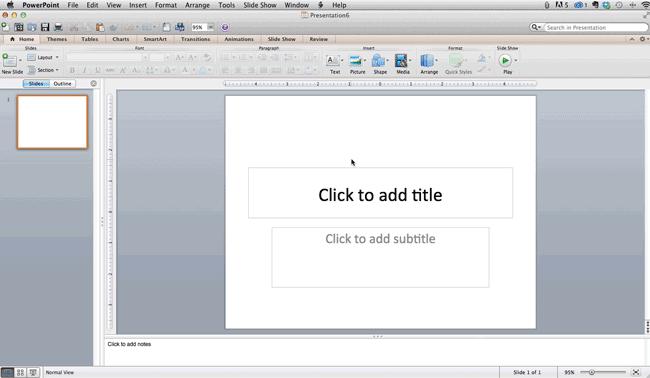
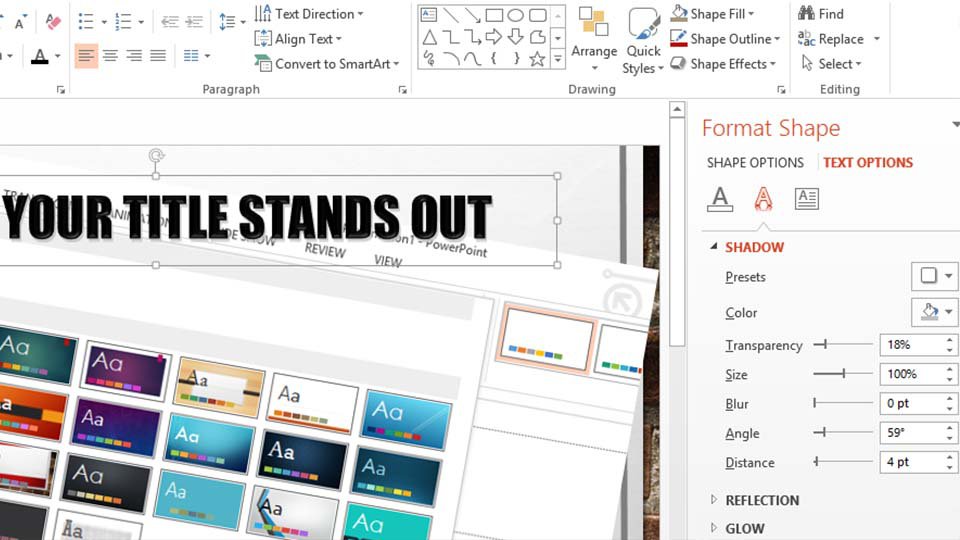
18. Make your title stand out
It’s important to make the title on a slide stand out. There are various kinds of formatting you can use on the text in your title that helps you in doing so. If you right click on a portion of text and click on Format Text Effects, you’ll see a bunch of formatting options that you can use. Play around with them, until you find out which one works best for you.
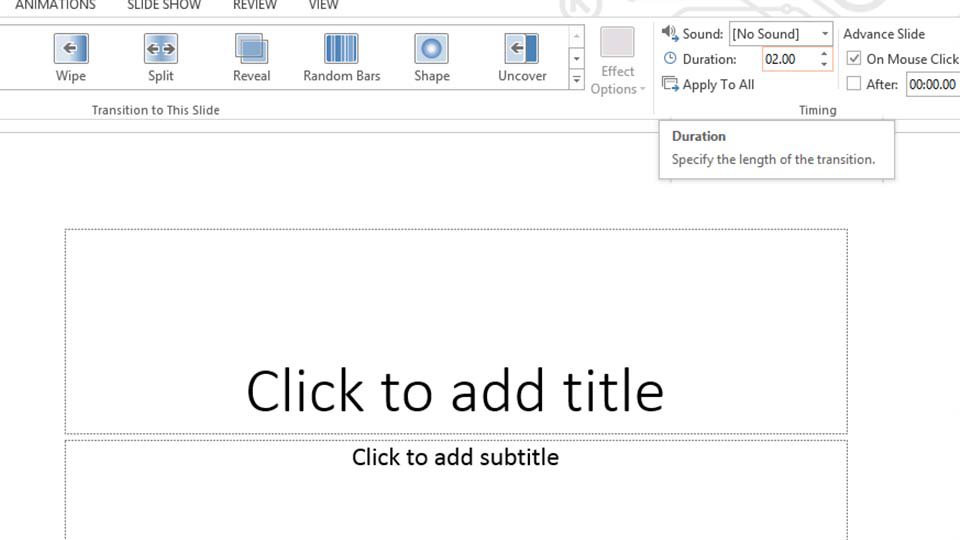
19. Use custom duration for slide transition
The same time period between all transition effects might not always be the best approach. Some things need to be faster, and some need to be slower. Although this feature has been around for a long time, it’s vastly underused. People should use custom duration for slide transition more often.
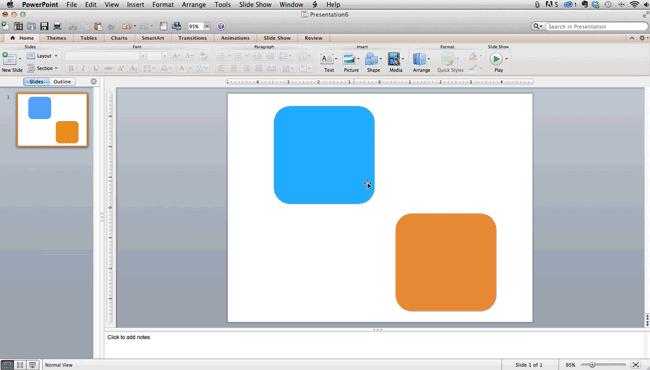
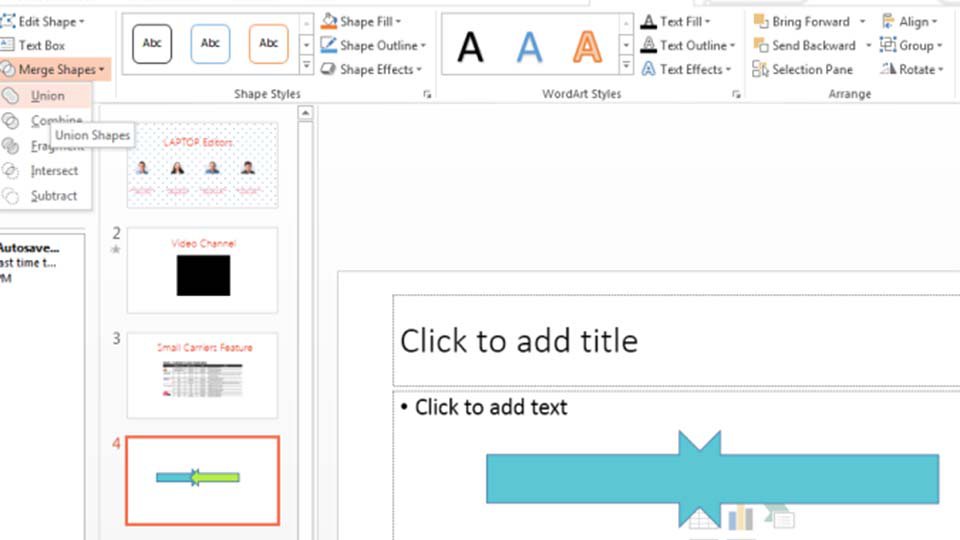
20. Merge different shapes
If you don’t know how to use Photoshop, changing and modifying shapes and images may get a bit tricky. However, in PowerPoint, you can easily combine shapes. You’ll find a lot of shapes in lots of colours in the Insert tab, just add them to your slide, select all of them using the Ctrl key, and under the Format tab, go to Merge Shapes and click combine.
So here you go, these little tips and tricks will help you go a long way in helping you manage your time and work efficiently.


