Travelling and photography go hand in hand. We see breathtakingly beautiful pictures of gorgeous locations all over social media and these pictures are so dreamy and fascinating that we totally miss out the fact that most of them are heavily edited.
Thanks to Peter Stewart, an internationally acclaimed photographer, we now know the extent to which photographers edit images in Photoshop. So much, so that a whole new sky or sun can be added to add to the beauty of a picture! Now, while we know that these images might tweak reality a little, it goes without saying that the efforts of the photographer are commendable.
As the photographer told Bored Panda, “These before and after samples are simply meant to highlight what can be done with the power of Photoshop. As such, I have deliberately provided the most dramatic examples.”
Here are 20 pictures that reveal the world that Photoshop can create.
*The following text has been written by the photographer.
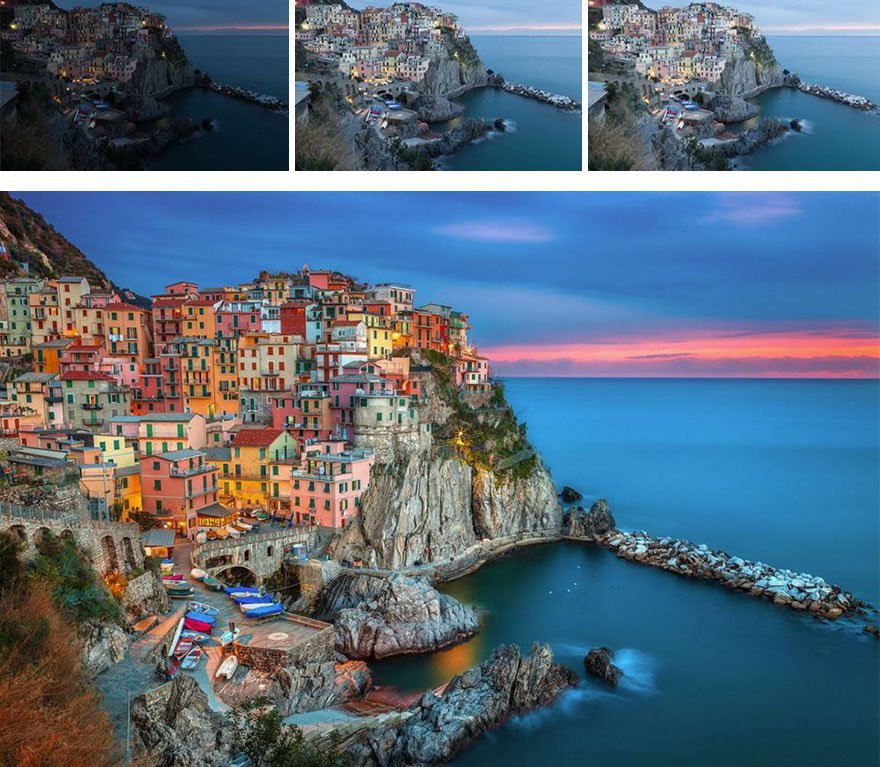
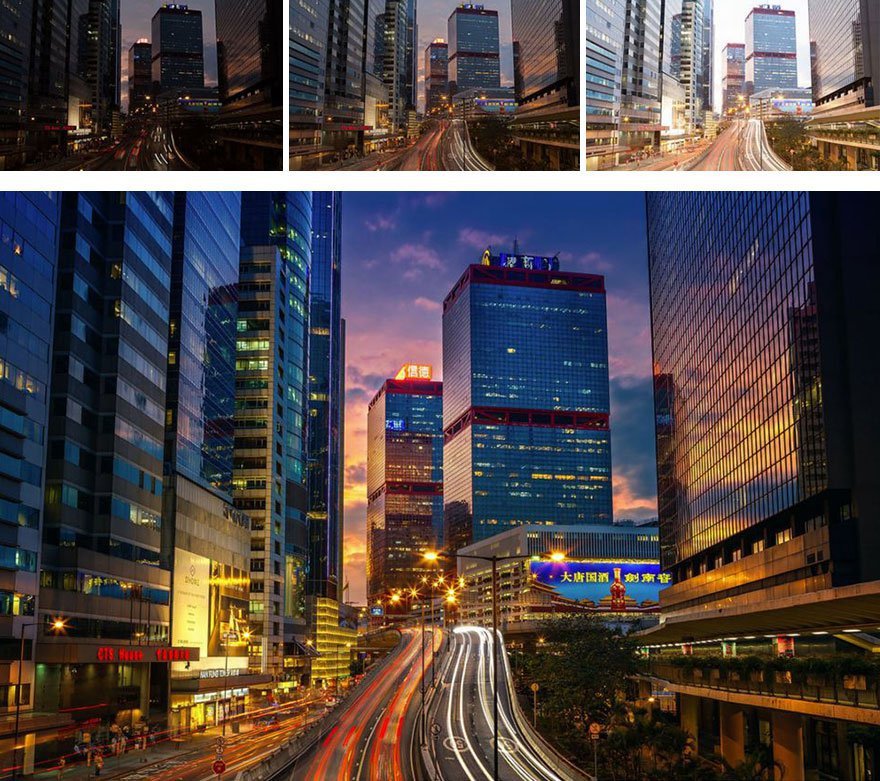
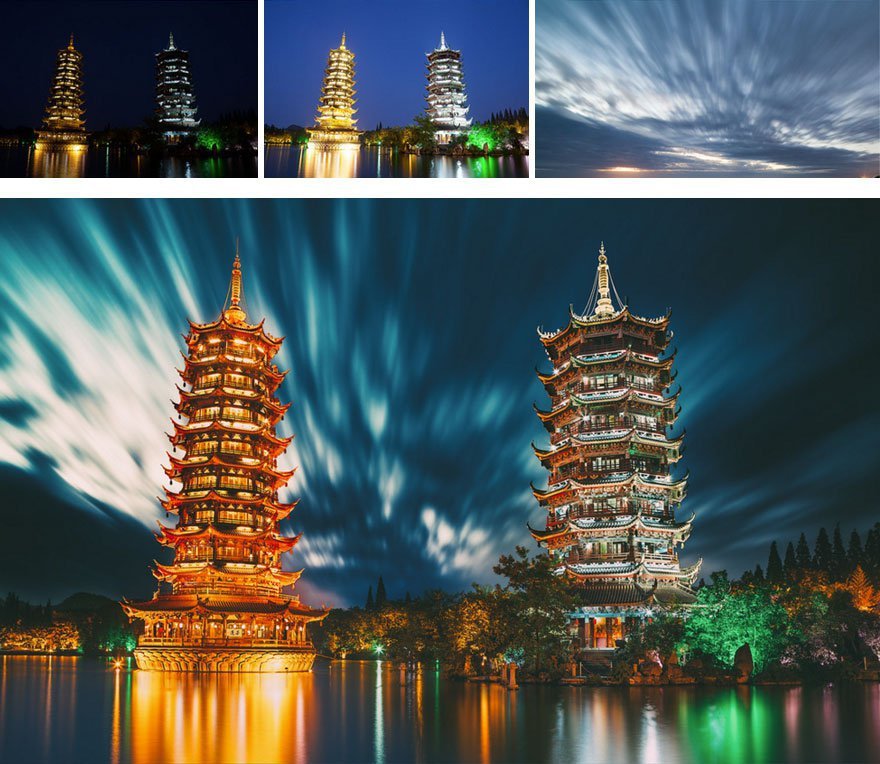
1. HDR bracketing manually blended in Photoshop. Nik Color Efex Pro used for post-production.
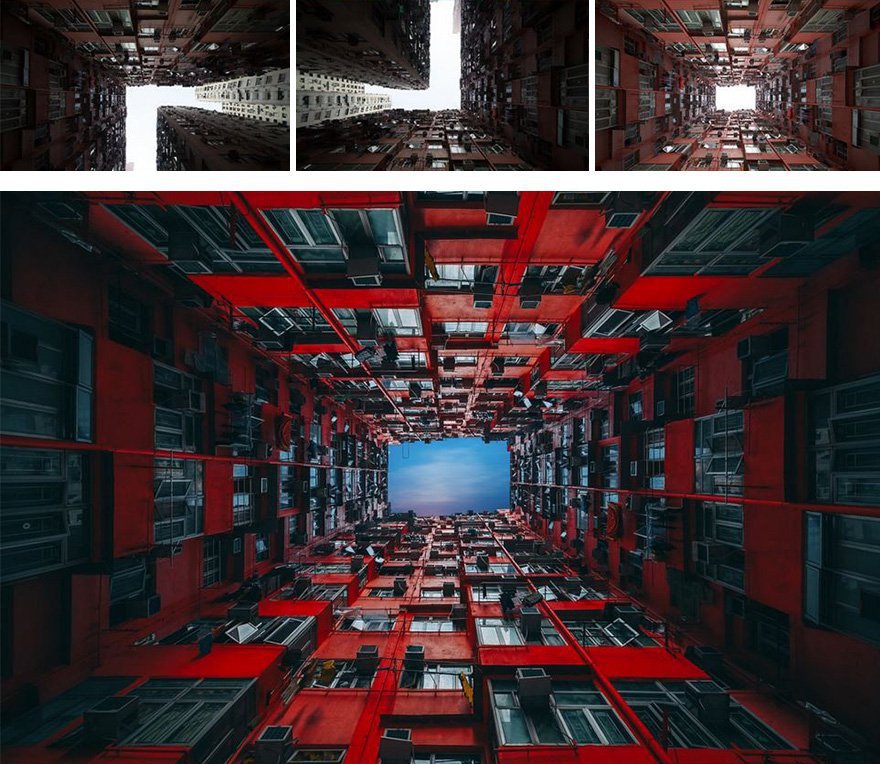
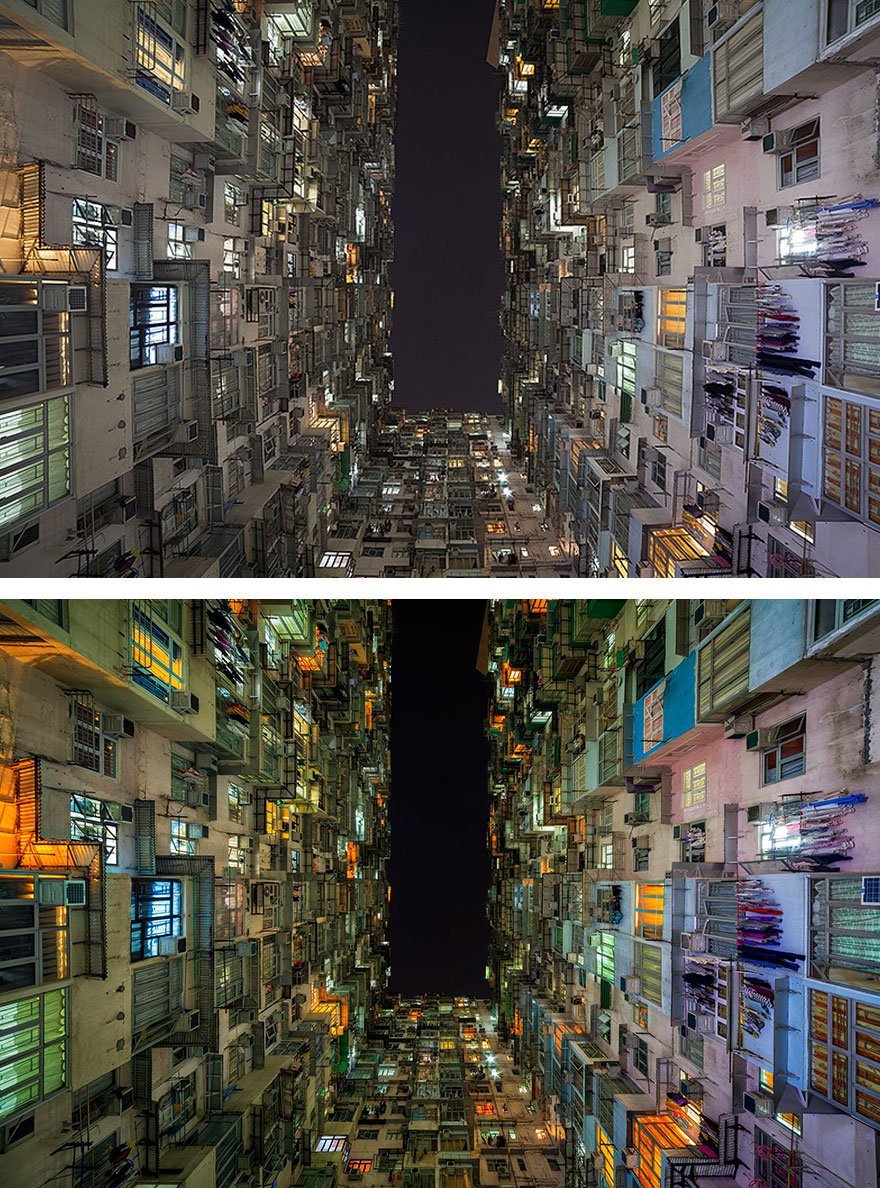
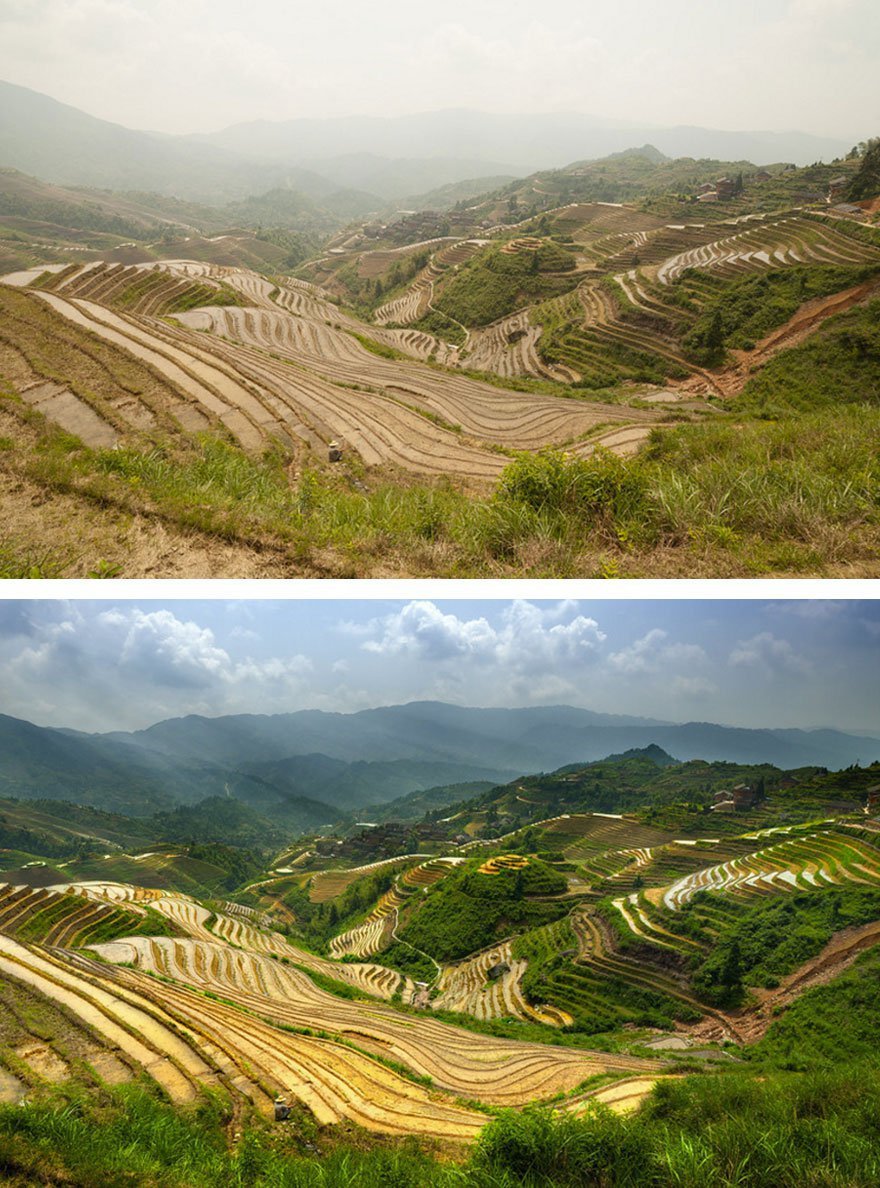
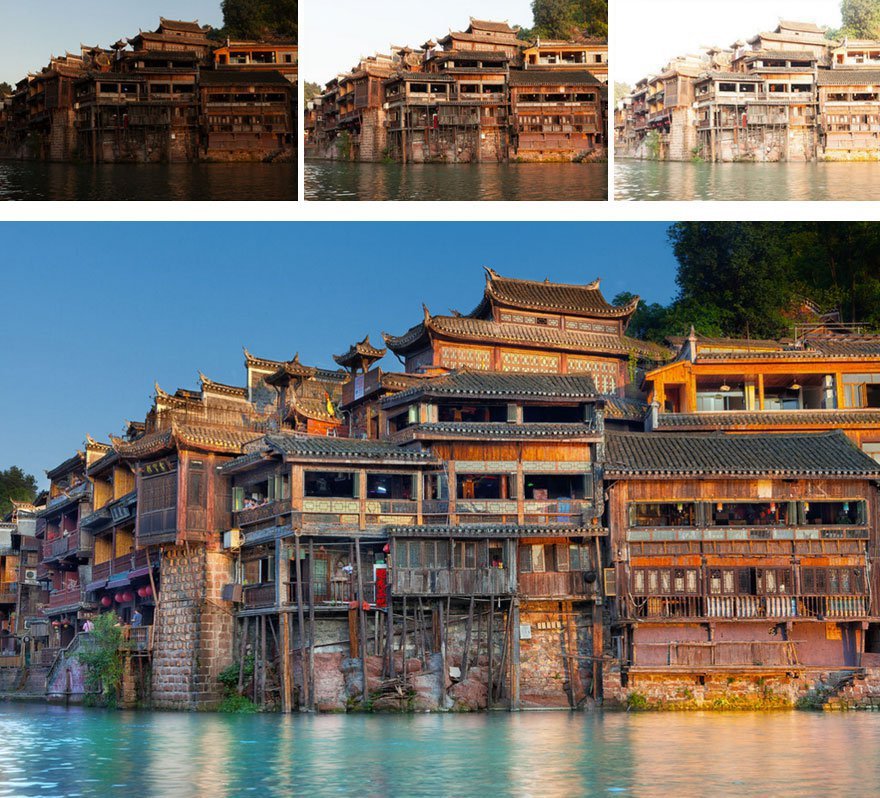
2. Single raw image copied twice, then flipped and cut diagonally. Then masked to create a seamless join. Image was then brightened to reveal the details.
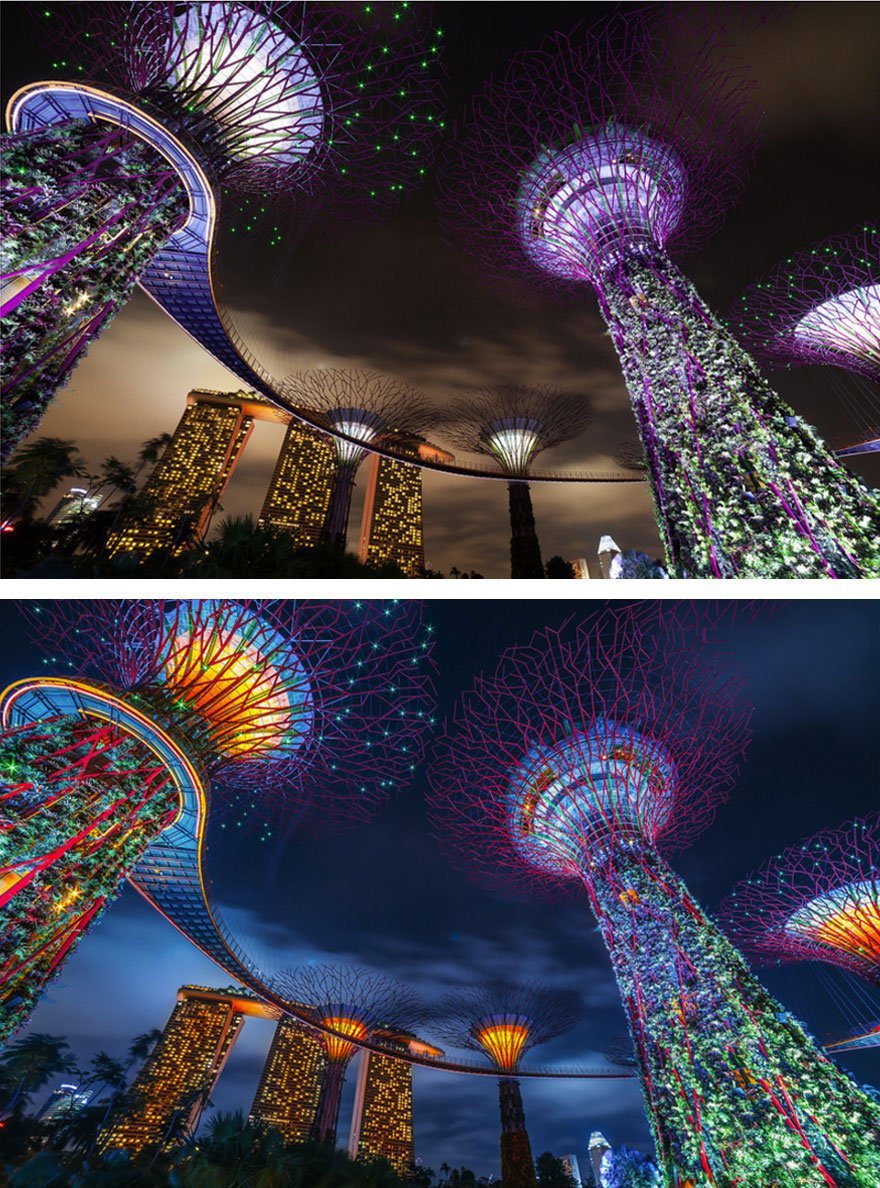
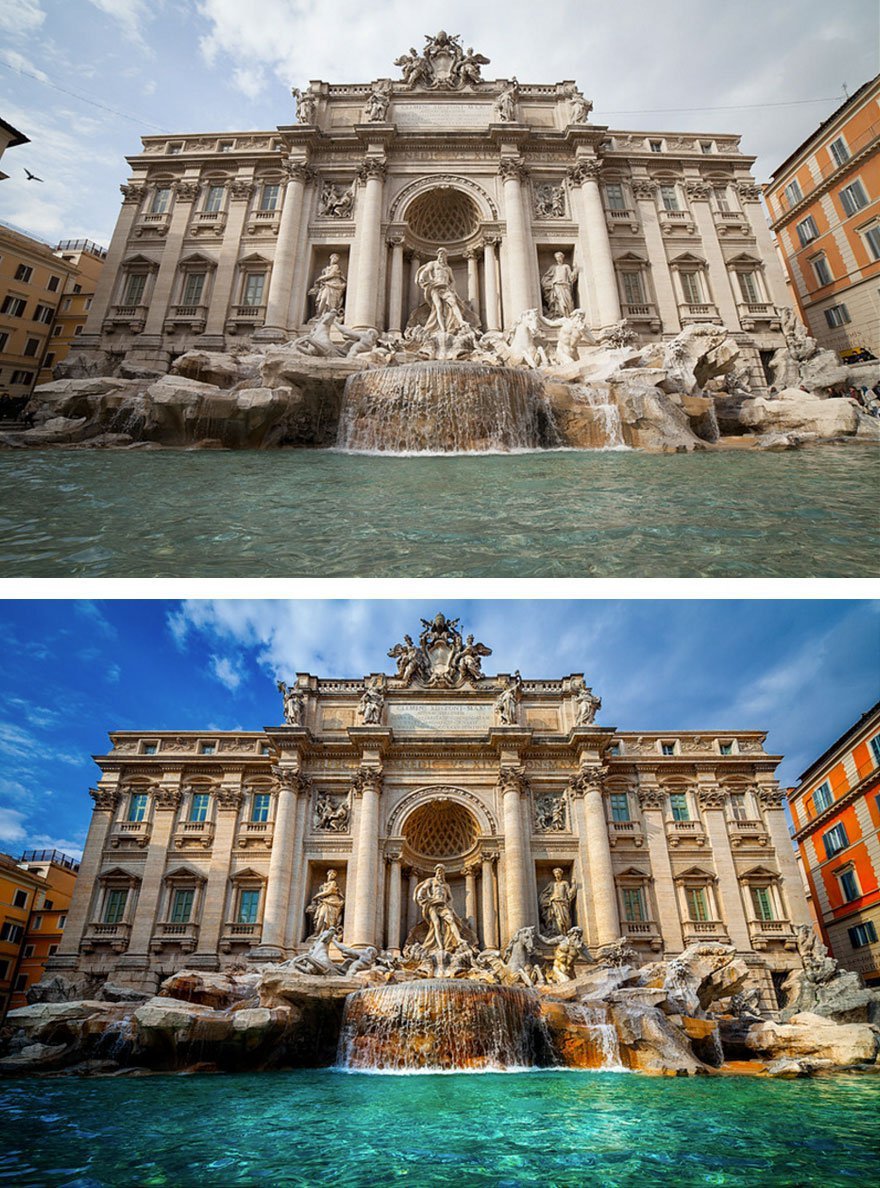
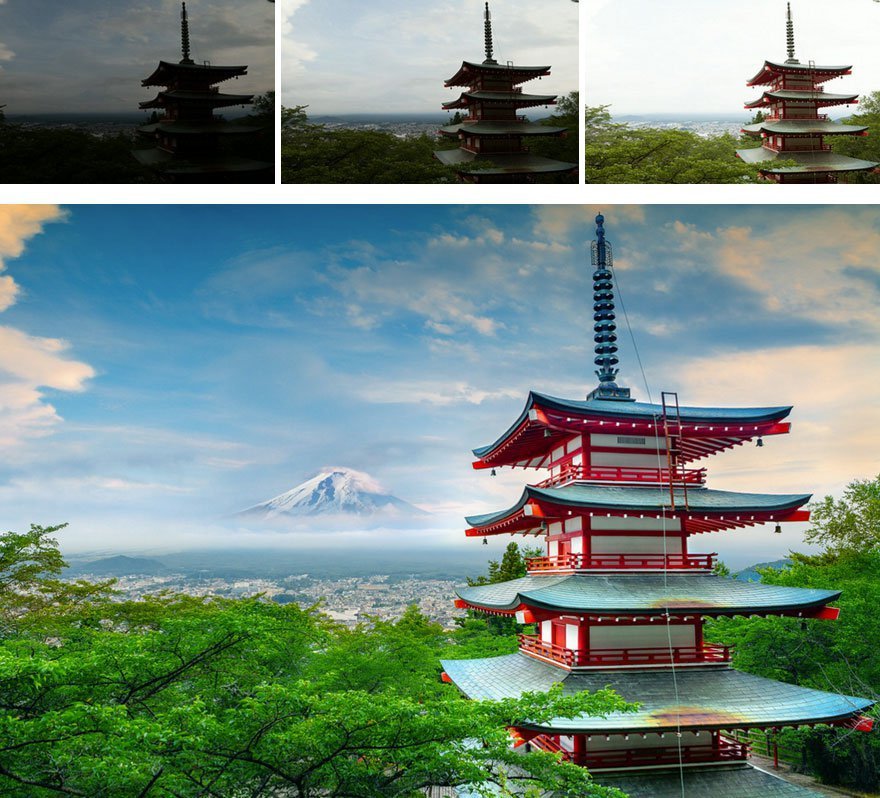
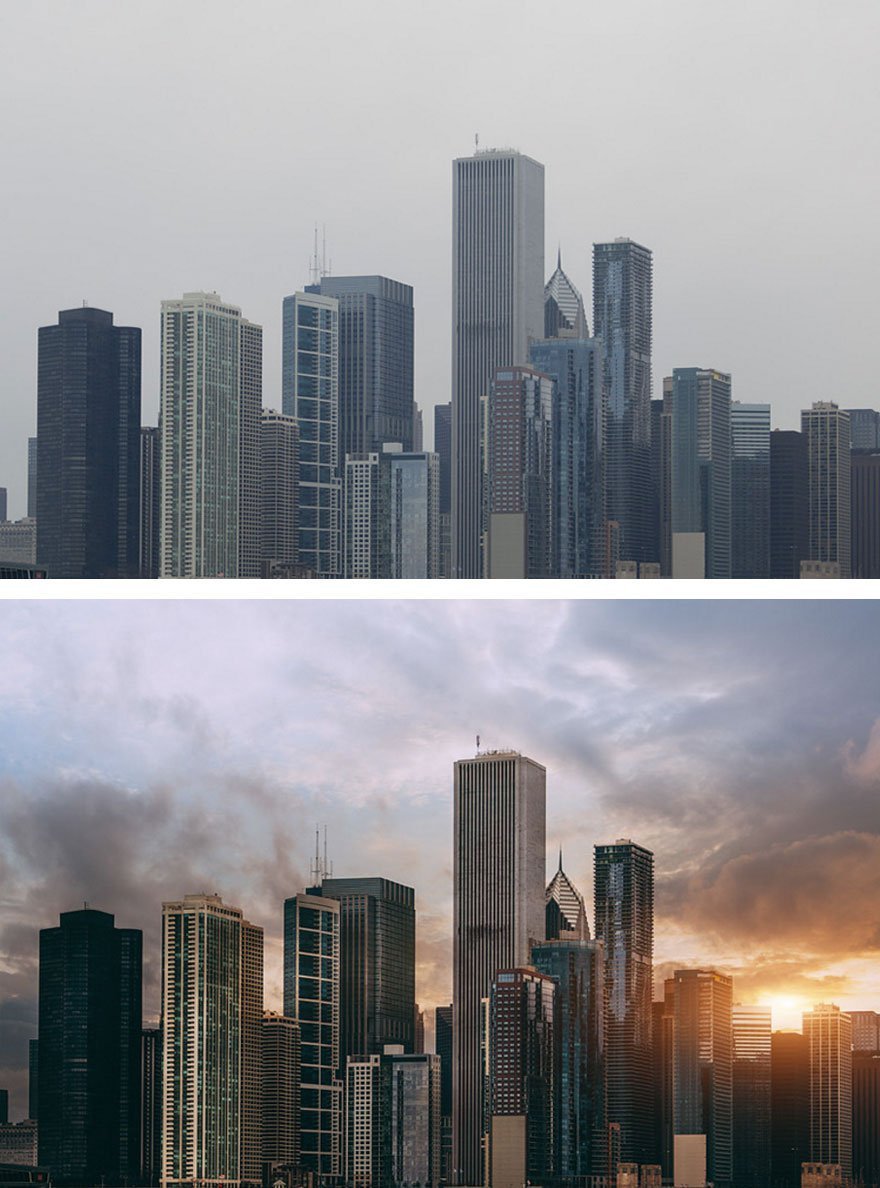
3. Color temperature adjustment using Adobe Camera Raw.
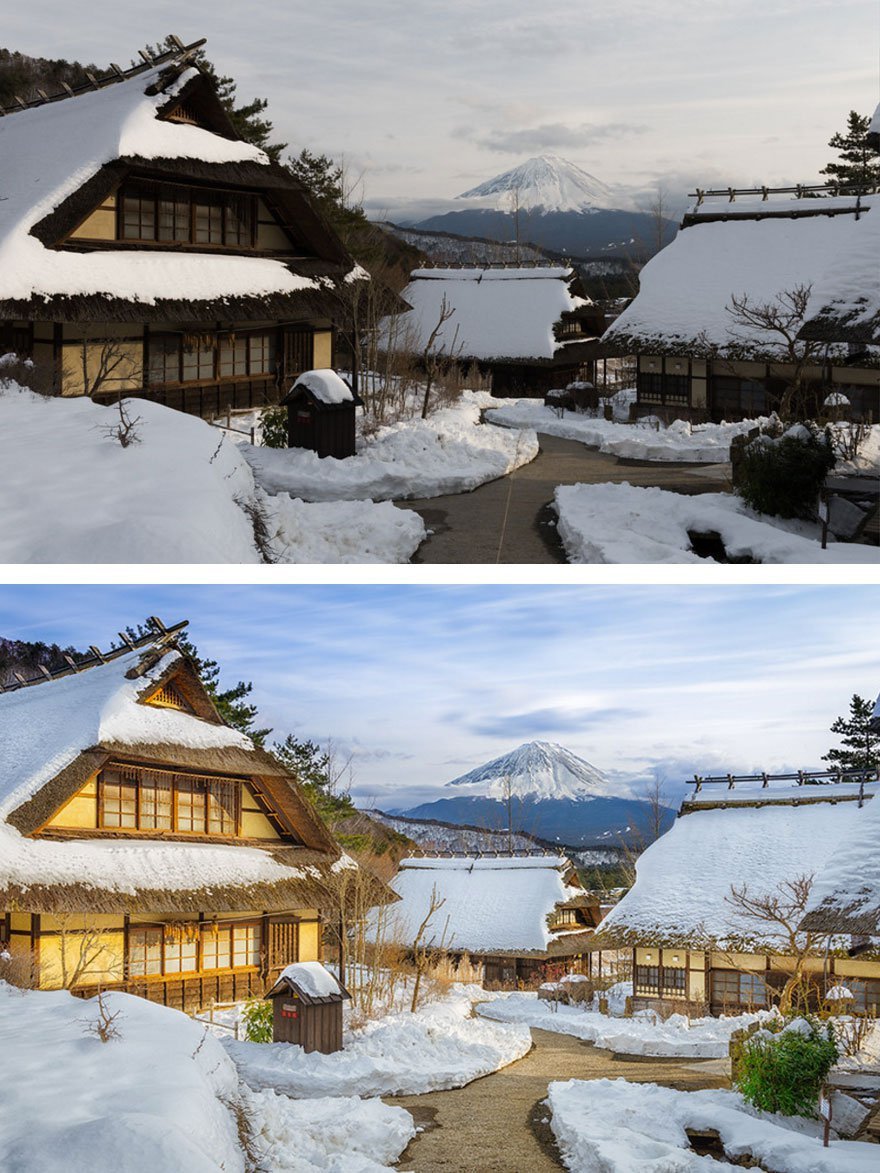
4. Single exposure edit.
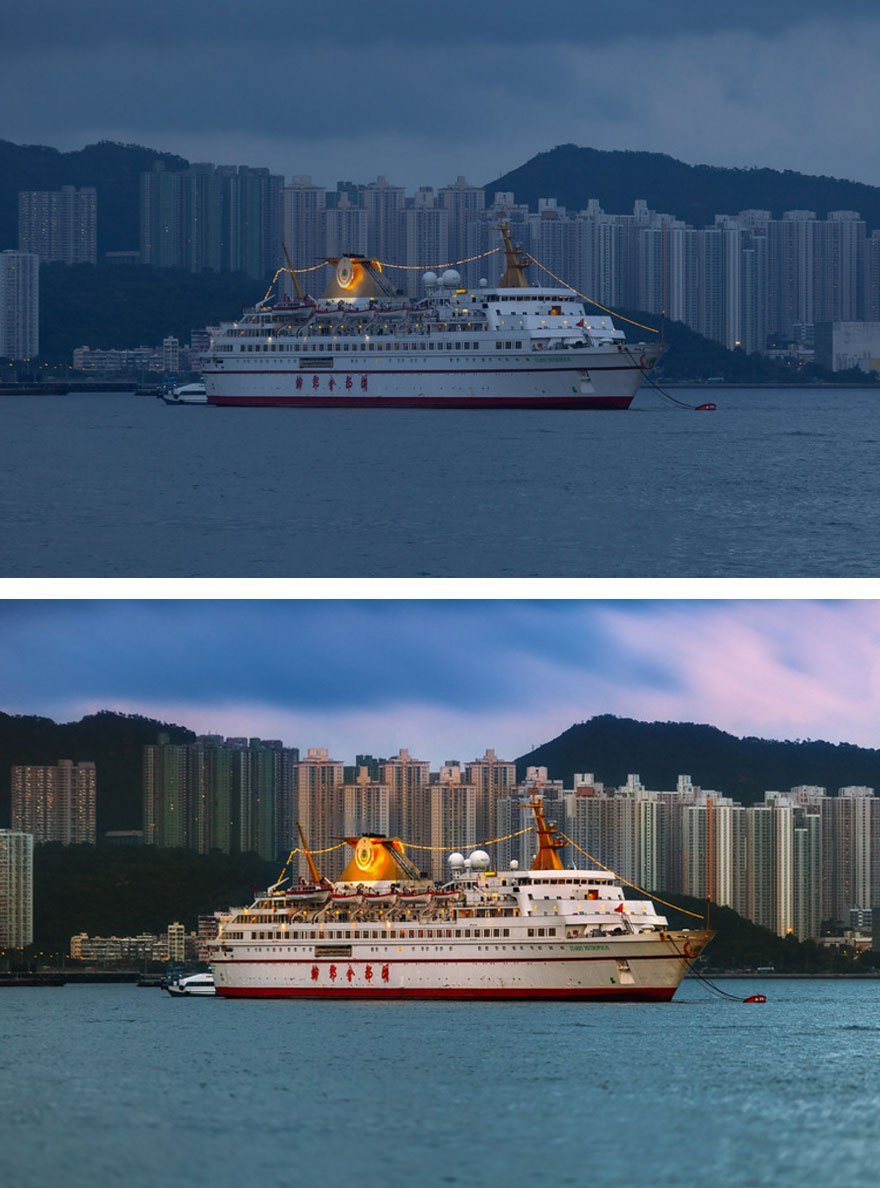
5. Perspective re-correction and power line removal in Photoshop. Color enhancements using Color Efex Pro.
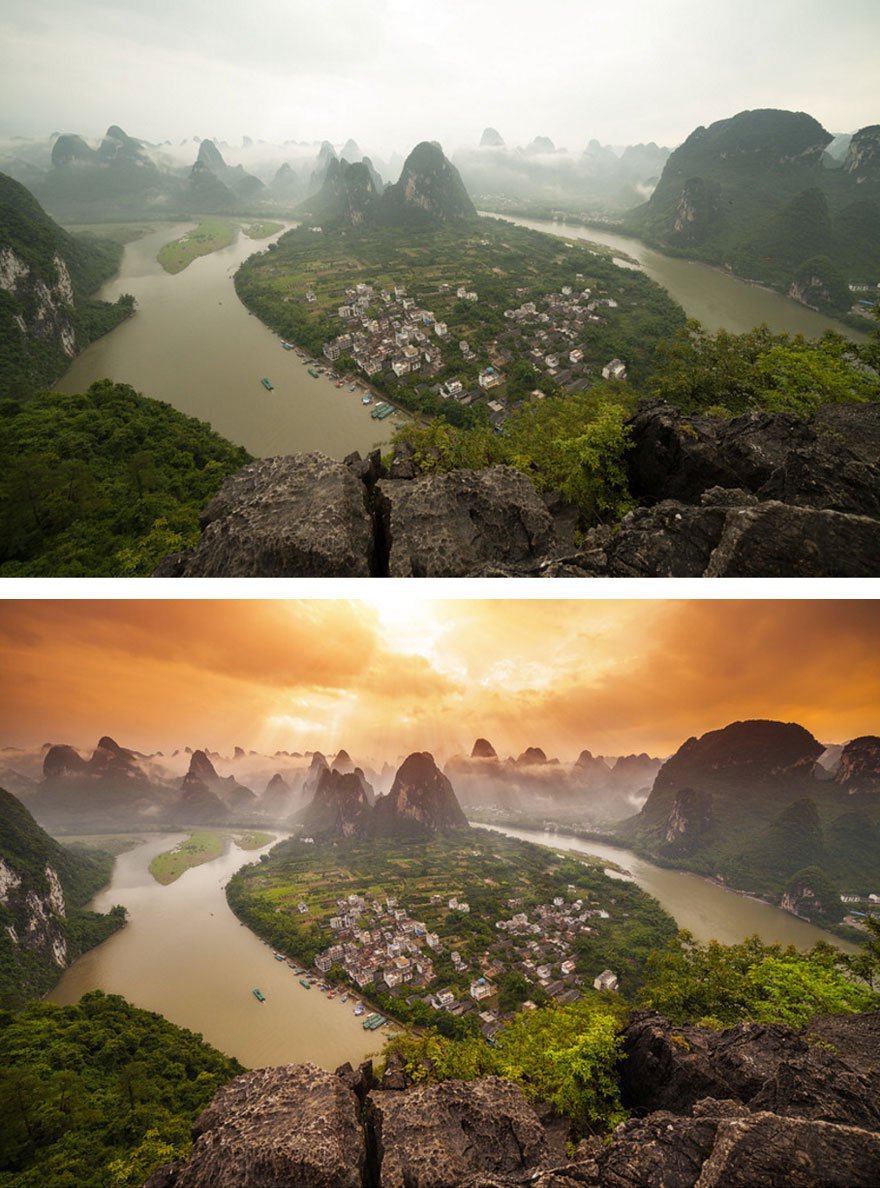
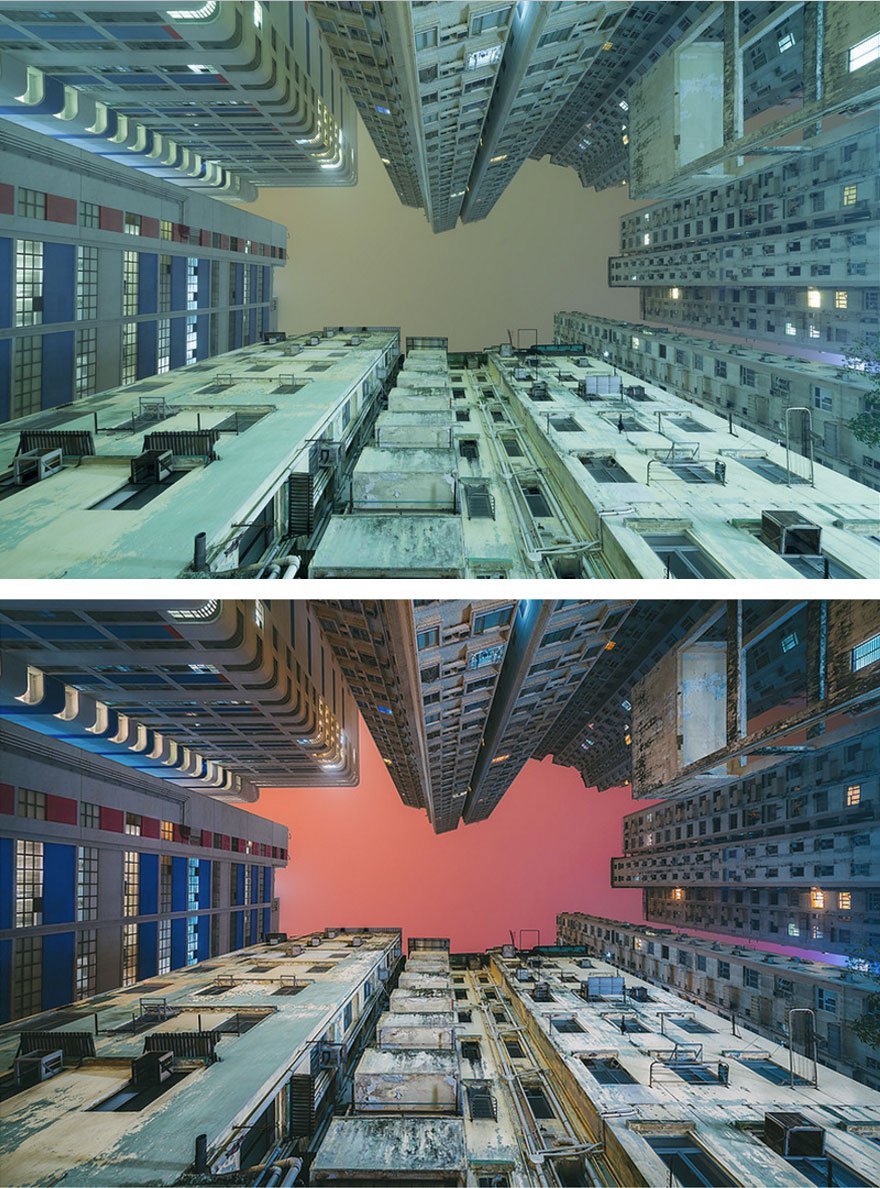
6. Gradual orange sky gradient and color adjustments performed In Adobe Camera Raw. Sunrays created in Photoshop, with added glow.
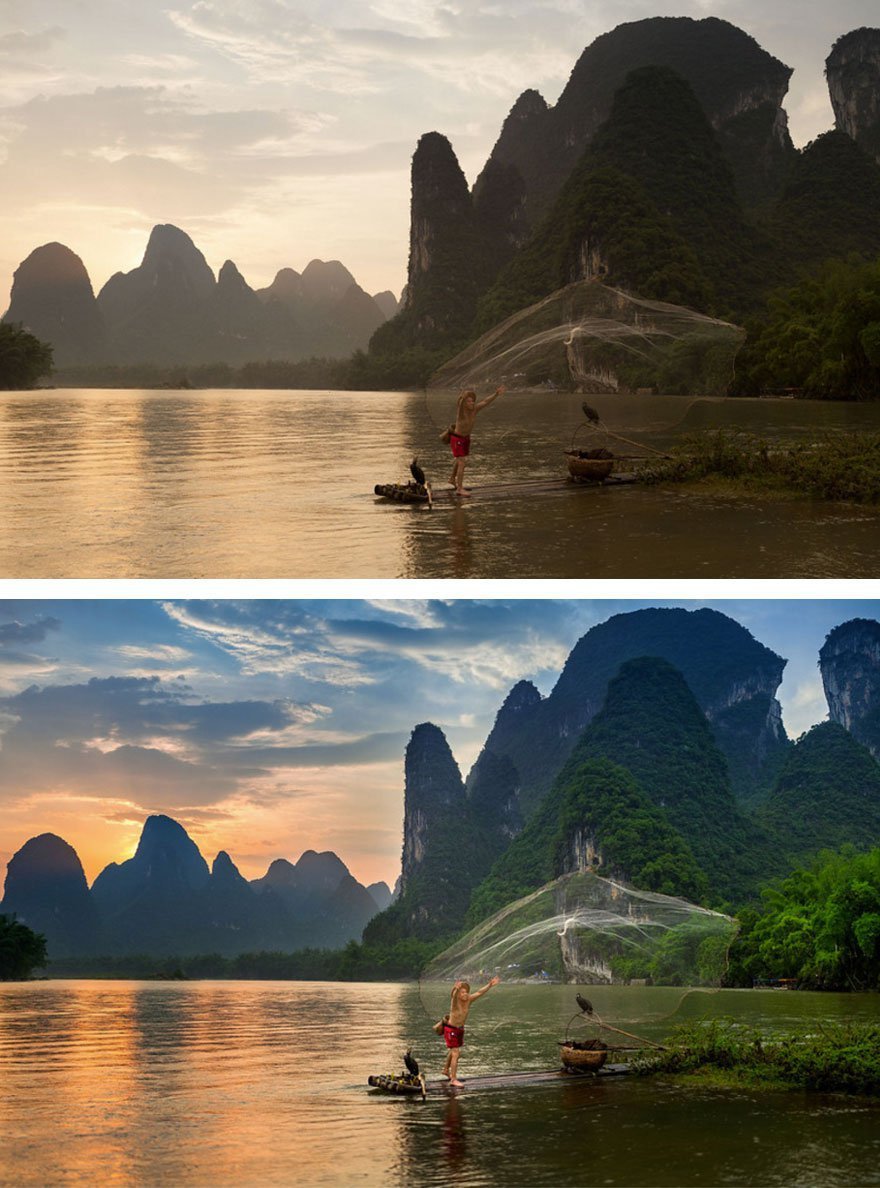
7. Various sky adjustments performed in Photoshop. Nik Color Efex Pro used for post-production color enhancements.
8. HDR bracketing manually blended in Photoshop. Nik Color Efex Pro used for post-production.
9. Overexposed image with detail brought back using Camera Raw. Nik Color Efex Pro used for post-production color.
10. HDR bracketing composited using Photoshop’s ‘merge to HDR’. Nik Color Efex Pro used for post-production.
11. Multiple exposure blended file.
12. 2x exposures manually blended in Photoshop. Perspective fixed in Camera Raw. Color adjustments made using Nik Color Efex Pro.
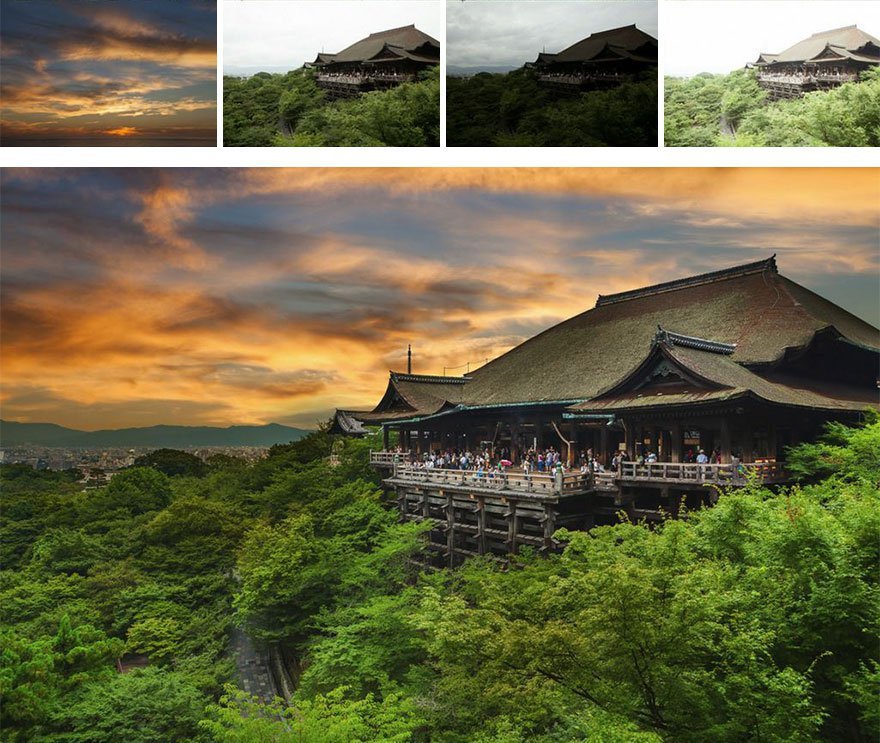
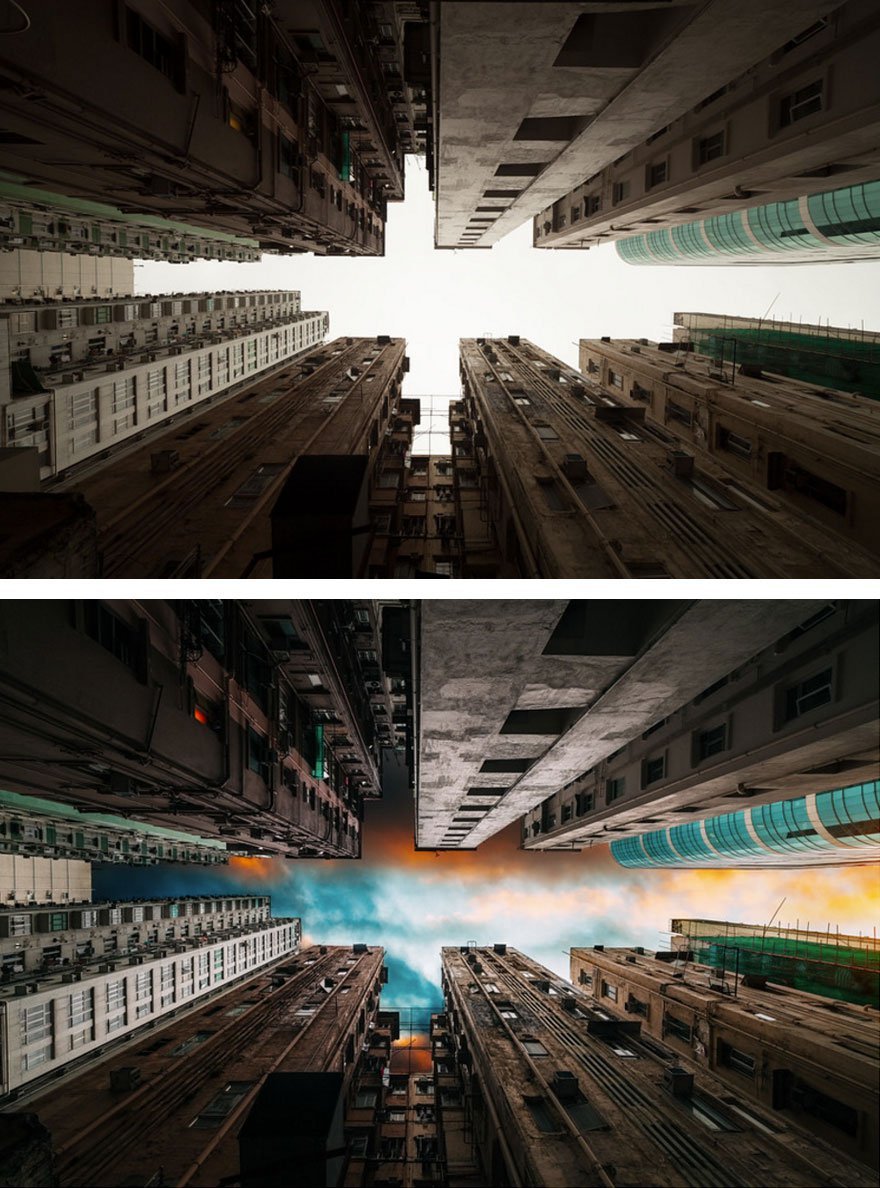
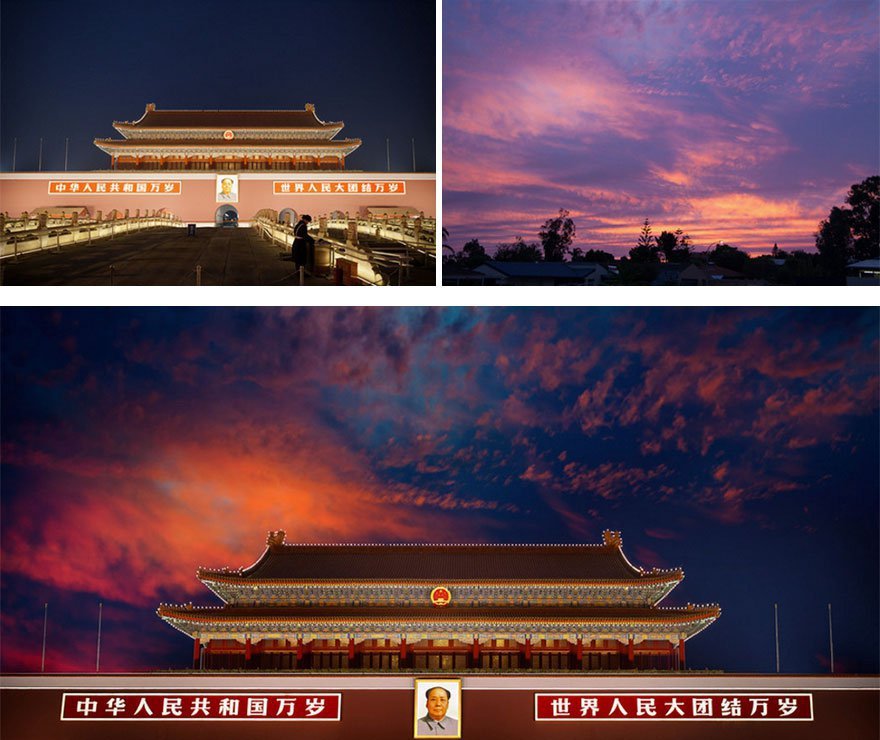
13. Adjustments to contrast and color to reduce haze and ‘warm up’ the image. Composite sky blended into the frame, with sun-glow added to it.
14. HDR bracketing manually blended in Photoshop. Nik Color Efex Pro used for post-production color enhancements.
15. 3x exposures manually composited in Photoshop CC. Manually replaced the sky layer, overlaid and painted in.
16. HDR bracketing manually blended in Photoshop. Nik Color Efex Pro used for post-production.

17. Nik Color Efex Pro used for post-production color enhancements.
18. Contrast and color temp corrected. Color enhancements made using Vsco and Nik Color Efex Pro.
19. Tonal adjustments made using Nik Color Efex Pro. Composite sky blended into the frame manually.
20. Single exposure composite cropped and color corrected in Photoshop. Sky background composited into image and color corrected.
Visit the photographer’s website here and his Instagram account here.
H/T: boredpanda